
I am going to show you how to assemble a digital clock. This is not as hard as it looks, and this project can be completed in just one hour if you do it right.
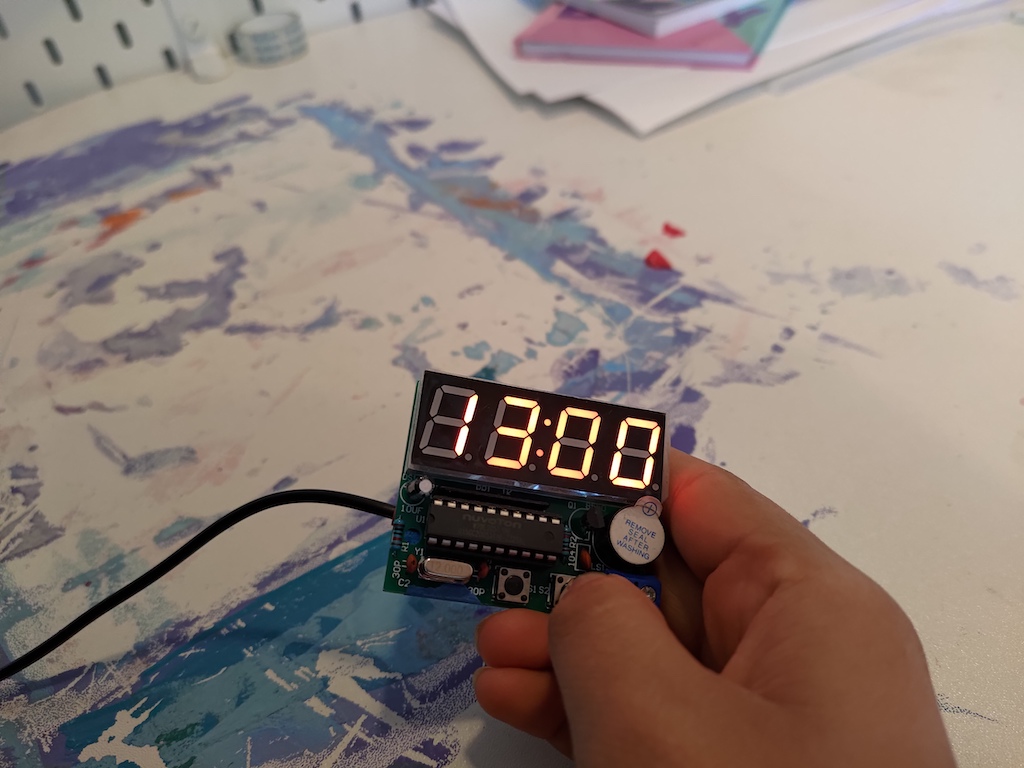
You can see the final product to the right. ==>
1st Step: I studied the schematics provided by my Urban Workshop instructor.
2nd Step: Gather up all the necessary components that are listed in the schematics. These components are going to be inserted into the breadboard of the Digital Clock.
3rd Step: Once all the components are inserted into the breadboard, then the fun part starts! Soldering!
4th Step: I absolutely love soldering. This is the first time that I soldered and it is really fun to watch the metal melt and act like glue. Once all the parts are soldered to the breadboard, the cannot fall out. I also placed a masking tape over the solder joints to protect them.
5th Step: Now comes the moment of truth. Powering up the Clock! If the everything was done right, then the clock should power up. My clock powered up. It was a success!!!
Digital Clock was a really neat learning experience. Soldering is so much fun 😀
Avi Skuben Tweet